> ## Documentation Index
> Fetch the complete documentation index at: https://docs.instaforge.app/llms.txt
> Use this file to discover all available pages before exploring further.
# Quick start
> Build, test and switch on your first assistant in about 15 minutes.
This walk-through builds an assistant for a hair salon. The steps are the same for any business; only the template changes.
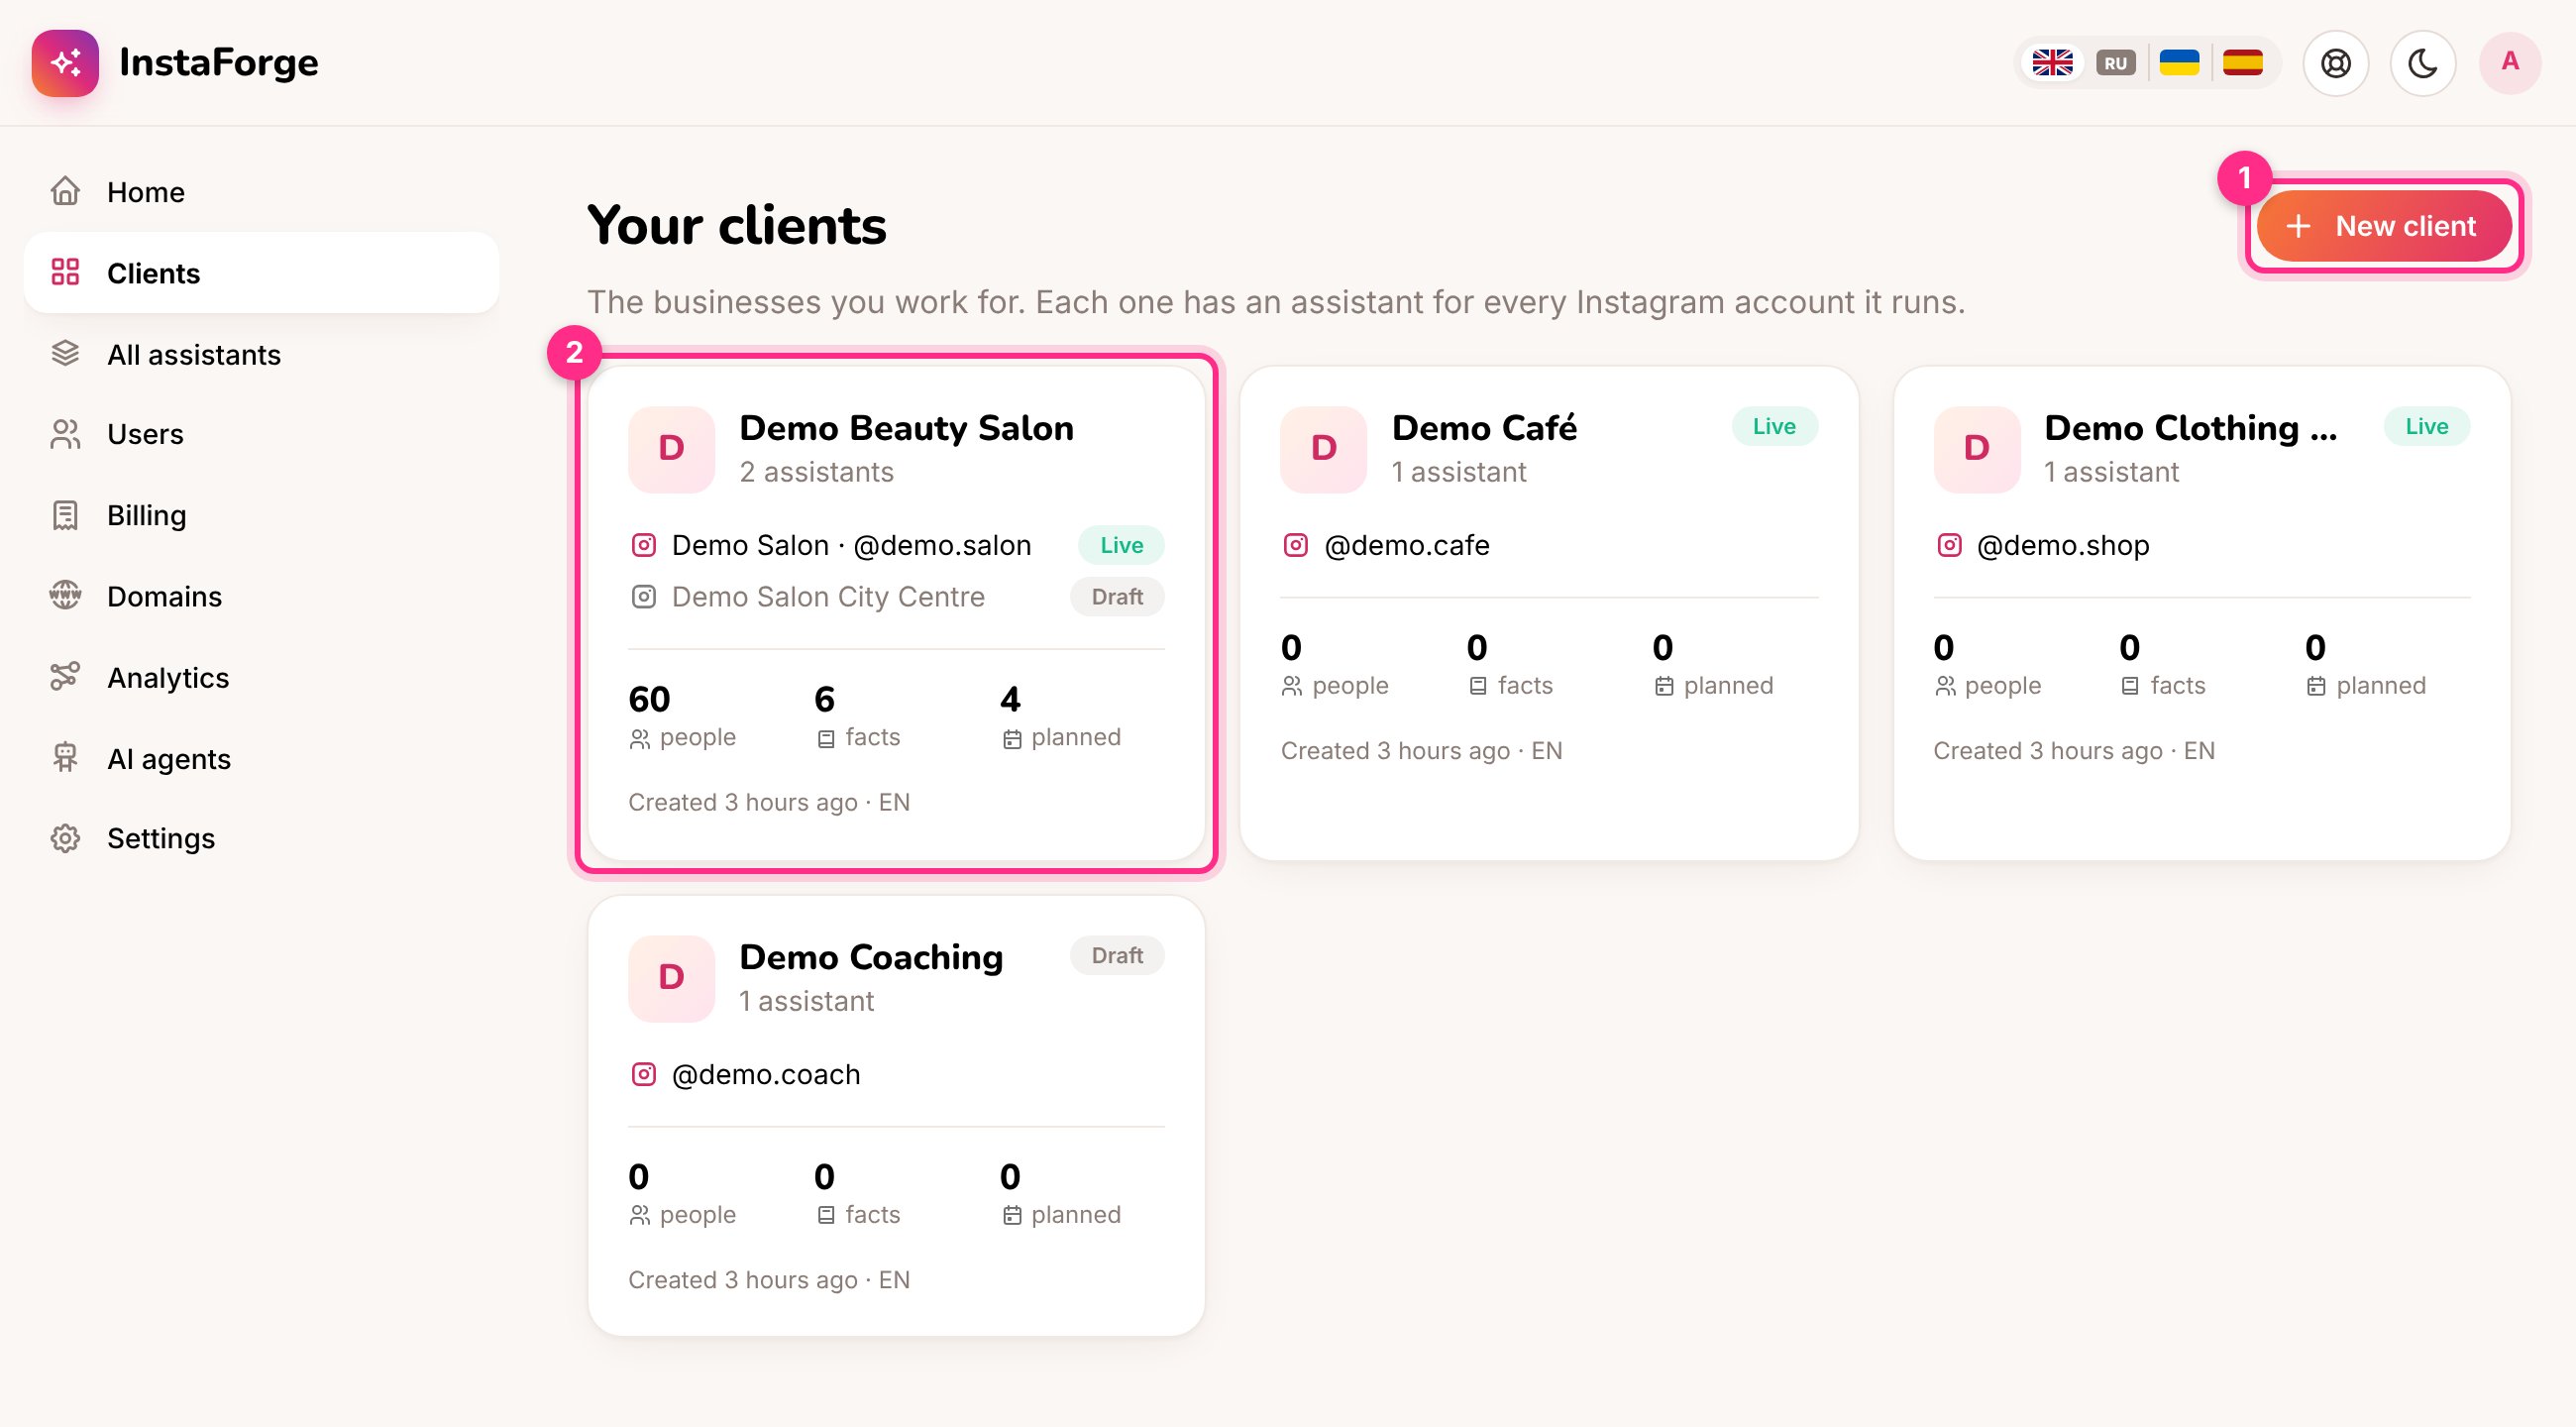
Open **Clients** and click **New client** (1). Type the business name customers know and the main language customers write in. The assistant takes the business name; change it if you like, only your team sees it. See [Clients and assistants](/getting-started/clients-and-assistants).
Pick a **template** that matches the business. A template adds a welcome message, Instagram starter questions and a question flow for booking, ordering or reserving a table.
| Template | Good for |
| - | - |
| Beauty salon or studio | Hair, nails, beauty, massage, barbers |
| Restaurant or café | Table reservations, menus, opening hours |
| Online shop | Product questions, orders, delivery |
| Coach, expert or courses | Consultations, programmes, enrolments |
 Open **Quick setup** in the assistant's menu. Give it whatever you have: the business's website (1), the Instagram bio, a price list or menu as a PDF or photo (2), and any notes from the client. Click **Draft the assistant** (3).
After about a minute you get a draft: knowledge, exact FAQ answers, a welcome message, starter questions, opening hours and services. Tick what's right, fix what isn't, and apply it.
Open **Quick setup** in the assistant's menu. Give it whatever you have: the business's website (1), the Instagram bio, a price list or menu as a PDF or photo (2), and any notes from the client. Click **Draft the assistant** (3).
After about a minute you get a draft: knowledge, exact FAQ answers, a welcome message, starter questions, opening hours and services. Tick what's right, fix what isn't, and apply it.
 Quick setup only uses facts from what you give it. Anything it couldn't find is listed for you to ask the client.
Open **AI brain**, choose the service and model, and paste the API key. Click **Test connection**. Using the client's own key means AI usage is billed to them. See [AI brain](/build-the-assistant/ai-brain).
Open **Playground** and write to the assistant the way a customer would: ask about a price, ask for a free time on Saturday, write in another language. The right-hand panel shows why it answered the way it did and which knowledge it used. See [Playground](/build-the-assistant/playground).
Quick setup only uses facts from what you give it. Anything it couldn't find is listed for you to ask the client.
Open **AI brain**, choose the service and model, and paste the API key. Click **Test connection**. Using the client's own key means AI usage is billed to them. See [AI brain](/build-the-assistant/ai-brain).
Open **Playground** and write to the assistant the way a customer would: ask about a price, ask for a free time on Saturday, write in another language. The right-hand panel shows why it answered the way it did and which knowledge it used. See [Playground](/build-the-assistant/playground).
 Follow [Connect Instagram](/getting-started/connect-instagram), run through the [Go-live checklist](/getting-started/go-live-checklist), then set the status to **Live** on the assistant's Overview page.
## The setup checklist
Every assistant's **Overview** page has a status switch (1) and a setup checklist (2). Each step opens the page where it's done, and is crossed out once it's finished.
Follow [Connect Instagram](/getting-started/connect-instagram), run through the [Go-live checklist](/getting-started/go-live-checklist), then set the status to **Live** on the assistant's Overview page.
## The setup checklist
Every assistant's **Overview** page has a status switch (1) and a setup checklist (2). Each step opens the page where it's done, and is crossed out once it's finished.
 Turn on the [website chat](/grow-sales/website-chat) on day one. It doesn't need Meta's approval, so the client can start using the assistant on their website while the Instagram connection is being set up.
This documentation is built and hosted on [Mintlify](https://mintlify.com), a developer documentation platform.
Turn on the [website chat](/grow-sales/website-chat) on day one. It doesn't need Meta's approval, so the client can start using the assistant on their website while the Instagram connection is being set up.
This documentation is built and hosted on [Mintlify](https://mintlify.com), a developer documentation platform.